Android开发环境Vanilla
我喜欢香草vanilla味的。
安装jdk/ant/Android SDK
set JAVA_HOME=C:\Program Files\Java\jdk1.8.0_20\
set ANDROID_SDK=D:\tools\adt-bundle-windows-x86_64-20140702\sdk
set PATH=%java_home%\bin;%ANDROID_SDK%\platform-tools;%ANDROID_SDK%\tools;D:\tools\apache-ant-1.9.4\bin\;%PATH%
ant和ANDROID_SDK都是zip包,解压设置路径即可。
android sdk
启动Android SDK Manager,下载所需版本的SDK。
android list targets
可以列出已安装的SDK,其中的id在下面生成ant工程文件(build.xml)有用。
启动Android模拟器
启动Android模拟器,需要Android Virtual Device (AVD),因而需要运行命令
android avd
打开AVD Manager,创建虚拟设备,看不懂的可参考Managing AVDs with AVD Manager
android list avd
可以列出已有虚拟设备,其中的name可作为启动模拟器的参数,如:
emulator.exe -avd e47
也可以在AVD Manager点击Start...启动模拟器。

可参考Using the Emulator,配置虚拟机加速。
命令行编译安装一个应用示例
cd %ANDROID_SDK%\samples\android-16
android update project --path HelloEffects/ --target 1 --subprojects
生成ant工程文件build.xml,其中的1选自android list targets的输出。
cd HelloEffects/
ant debug install
卸载命令: ant uninstall
查看错误
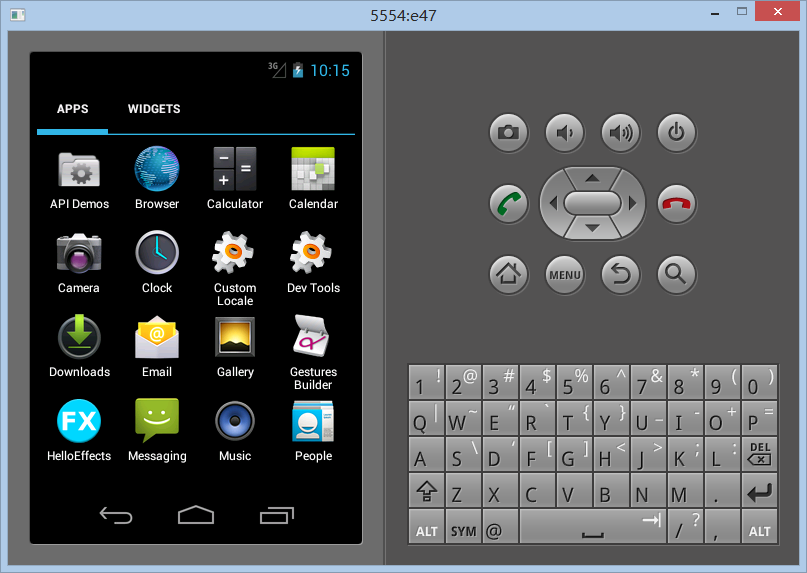
点击FX图标,出现“Unfortunately, HelloEffects has stopped.”,运行:
adb logcat
查看错误:
E/AndroidRuntime(  891): FATAL EXCEPTION: GLThread 102
E/AndroidRuntime(  891): java.lang.IllegalArgumentException: No configs match configSpec
E/AndroidRuntime(  891):        at android.opengl.GLSurfaceView$BaseConfigChooser.chooseConfig(GLSurfaceView.java:863)
E/AndroidRuntime(  891):        at android.opengl.GLSurfaceView$EglHelper.start(GLSurfaceView.java:1024)
E/AndroidRuntime(  891):        at android.opengl.GLSurfaceView$GLThread.guardedRun(GLSurfaceView.java:1401)
E/AndroidRuntime(  891):        at android.opengl.GLSurfaceView$GLThread.run(GLSurfaceView.java:1240)
叉掉模拟器,用以下模拟重启模拟器:
emulator.exe -avd e47 -gpu on
再打开HelloEffects,香草味扑面而来。
hello world
是时候开始hello world了,
android create project --target 1 -n helloworld -a HelloWorld -k com.brook.helloworld -p helloworld
生成一个空的项目,只有一个HelloWorld.java
package com.brook.helloworld;

import android.app.Activity;
import android.os.Bundle;

public class HelloWorld extends Activity
{
    /** Called when the activity is first created. */
    @Override
    public void onCreate(Bundle savedInstanceState)
    {
        super.onCreate(savedInstanceState);
        setContentView(R.layout.main);
    }
}
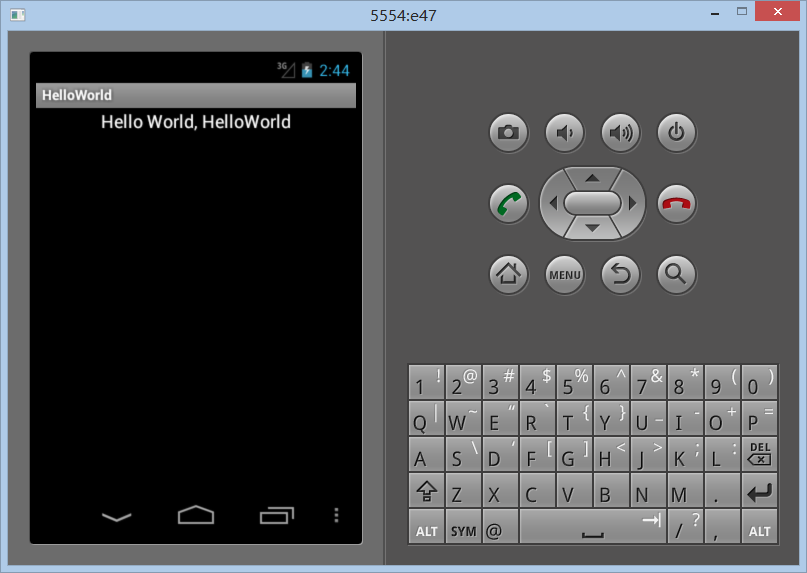
看看:
ant debug install